Showing posts with label Photography. Show all posts

Wednesday, July 16, 2025

Kedrick: 11 - An Exploration of 35mm Film Stocks

Good afternoon to my companions! Today, on the eve of my 30th birthday, I thought for a moment about writing something introspective about my 20s. Maybe a moment for each year or something. But that's a lot of effort, and that idea just popped into my head now. The timing of this blog's due date is pure coincidence (maybe). Just know that I've thoroughly enjoyed this past decade that spans three years of college, living in a new city (and state) for the last seven years, making new friends, getting engaged, and getting married to my beautiful wife! Truthfully, the current season of my life began long before my 30th birthday and really started back when I met Lizzie in February 2022. My early 30s won't look very different from my late 20s, which is a terrific thing!! 

But I digress. The purpose of this blog is to both inform you all and document the results of my rigorous tests over the last five months. I want to tell you about some different 35mm film stocks. One of my favorite things about shooting film is how you can get a distinct & unique feel within your photos by shooting different types of film in different conditions. It takes away a lot of the post-processing Lightroom work because you really want to just let the features of each film stock shine without touching anything up too much!

What will follow is a description of each film stock I've tested, some picture samples (I've tried to include mostly photos taken with my Nikon, but some were taken with other cameras), and my overall thoughts on the film and its value for the price (even though the prices vary by a few dollars, it adds up). The only important technical jargon that you need to know is what ISO is. ISO is the sensitivity of the film to light, and it's represented by a numerical value. The lower the number, the less sensitive it is to light, which means you need to either expose the film to more harsh light (a bright sunny day) or expose it longer (let that shutter stay open for a while). Different film stocks have different ISOs, and that value informs when you should use each. ISO also impacts how much grain the film stock has. Films with a 100 ISO will have a much finer grain (less obvious grain) than 400 speed films.

The People's Champs

We're starting with the heavy hitters, folks. These film stocks have become tried and true. They also represent the best bang for your buck. Anyone looking to explore the world of film photography for the first time would do well to use these.

Kodak Ultramax 400

For a cheap color film stock, you do not need to look further than the undisputed People's Champ of 35mm color still photography, Ultramax. I love love love this film, and you can almost always pick up a 3-pack from B&H for $27. It performs incredibly well on point-and-shoot cameras, is insanely versatile (can handle a lot of different lighting conditions), and has that classic film grain that people shoot film for. It has high vibrance, contrast, and saturation, which can be a con for some people, but it's a pro in my book. I love shooting reds with this film.

ATL skyline with my Nikon

Shout out contrast

Punchy point-and-shoot

Great shadows

Ilford HP5

One of the two kings of black and white film. Although B&W film tends to be more expensive to develop, it is also much cheaper ($9/roll). The way I describe this film vs other black and white films is that HP5 offers more of a "grayscale" feel than pure black and white. This feature makes it the most consistent, in my opinion, but keep in mind I've only tested the two most common types of B&W film.

One of the my favorite pics
 
Another favorite with my Nikon and some HP5

Life-affirming

Kodak Tri-X 400

The other half of the black and white empire. Tri-X is punchy as hell. High contrast and a very clean, pure black and white film stock. My favorite fun fact about Tri-X is that this photo by Jim Marshall was taken with it. It's also around $9/roll and looks so good for that price, it's insane. Black and white photography is one of the main selling points of shooting with 35mm film, and I need to use it more!! This film has a coarser grain than HP5, which can be a good or bad thing based on personal preference. I've only shot this film once so far, which is a definite blind spot.

My first favorite photo. From my point-and-shoot in SF!

...also SF

Kodak Pro Image 100

The Photo Spot guy put me on to this film stock when I tried to buy a different 100 speed film, Kodak Ektachrome, which is one of two Kodak films I haven't shot yet! Ektachrome is famous for its extremely rich saturation. Pro Image represents a middle ground between that high saturation and the more "lifelike" colors that Kodak Portra's line offers (their "professional" film). At a price point of $10.50 per roll, it also offers excellent value. I have only shot this type once in Cozumel, but I will be going back to it.

An all-time classic

Handsome guy

Fun with double exposures

Kodak Gold 200

This one is my least favorite of this category, but the value is undeniable. You can pick up a 3-pack for around $25, which is the best value in the dang business. Candidly, I have probably sold this one short, but that's more because of my love for the rich saturation and versatility that Ultramax offers at a very similar price point. This film stock is at its best when you're taking golden hour photos since it already has a tinge of gold, hence the name. Or when you just want an affordable film with a finer grain that can handle some harsh lighting conditions.

Favorite from the only time I shot Gold with my Nikon

Thanks for the lighting shout, Q

Love those greens

The Professional & Specialty Corner

Unlike the People's Champs, these are either 1. more expensive per roll or 2. more limited in usage scenarios. They all have an important place in the film world and can give you some of the best pictures you'll ever take, but aren't necessarily budget-friendly picks!

Kodak Portra 400

This is the People's Champ but for pros. It has all the great features of Ultramax but with less saturation and a much finer grain. Both of those things can be a good thing, especially when photographing people. This type of film is the best there is at photographing realistic skin tones, hence its name being based on the word portrait. At a cost of around $15/roll (most of the time you have to buy 5 rolls for $75), it's more expensive than a People's Champ, but generally speaking, it's easily worth it. Best for special occasions like a fun trip or visiting a new city. The only roll I shot with this film stock using my Nikon was when I found out I had a light leak, so I haven't the chance to take a special picture with this yet. I used it to test my new point-and-shoot I found in a Minnesota vintage shop, though!!

Downtown Alexandria

The cabin from the lake

Companions!

Kodak Portra 160

I shot this for the first time in Minnesota and was obsessed with the results. One of the best rolls I've ever shot! The grain is so dang fine, but still very present. The colors are lifelike yet dreamy. It's at a similar price point as Portra 400 (this one is a little cheaper at $14/roll), but again, it's worth it for special occasions, like a fun sunny trip to the lake!

Instant all-timer status

Sunsets on the lake

Portrait of a Companion

CineStill 400D

This film is Kodak motion picture film but respooled into film for still photography. They also take off the "RemJet" layer so it can be processed the same way typical 35mm film is processed. This comes into play more when we look at 800T. 400D is a daylight-balanced film that can be purchased at the same price as Portra 400, which is sadly its main drawback. As much as I liked this film the first time I tried it, I don't think it can match the versatility of Portra. Still, it's super cool to shoot on motion picture stock, and the film makes it much more stylized than Portra. As if your photos are from a movie!

The Skyway at sunet

My favorite shot of the Chacchoben Mayan ruins.

Two thumbs up!

CineStill 800T

This one is special. The crowd favorite for night photography! Due to the removal of the RemJet layer, this film creates a "halation" effect when you shoot lights, which can be both good and bad. It's very good when distant light turns into a "bulb" of sorts, but not good when your subject is words that become a blobby mess. You also can't shoot this film stock during the day without the colors coming out extremely cool (very blue and green). That didn't stop me from trying that to see what it looked like, though! And you can get around that by buying a lens filter. Although its uses are more limited, when you shoot this in the right conditions, you'll get some of the best photos you'll ever take. I'll be shooting this one in the future.

Fireworks on film!

An excellent example of the halation effect is the lights above the pumps

Perfect example of the cool daytime colors contrasted against the warm-colored house!
 

If you've read this far, I appreciate your time, and I hope you learned something new. Let me know your thoughts on anything I've said or what your favorite samples were! I look forward to speaking with you all again soon.

Thursday, May 8, 2025

Kedrick: 8 - Photography Struggles and DC

Happy Thursday to my fellow companions! Today, I will share the first real challenge of my film photography journey. As you may or may not recall, I started shooting on 35mm in February when I purchased my Olympus PEN EE3. It's a fantastic point-and-shoot camera, which essentially means it functions similarly to a disposable camera. The camera does 90% of the work for you, all the user needs to do is...point and shoot! I firmly believe it is the perfect camera for anyone interested in beginner film photography. It was only $100 on eBay, and it's a half-frame camera, which means you can shoot anywhere from 72 to 75 pictures per roll of film (rolls that would typically allow you to take 36 pictures). It's an insane value, especially when film photography is becoming more of a niche hobby and therefore increasingly expensive. As with anything, there's a downside: I don't have much control over the photos. I've evidenced in a previous blog on the exposure triangle that I have a fairly advanced understanding of the basics of photography. Sometimes I want to be able to use that knowledge and manipulate the settings on my camera. 

This led me to take the next step and purchase a Nikon FE film camera body that came with a 50mm lens for $150 on eBay. Solid deal considering it comes with a lens (most of the time you have to buy each separately). The camera arrived during April, and on Friday, April 18th, and Saturday, April 19th, I shot a test roll of Kodak Gold 200 on the camera to ensure everything worked properly. I dropped the roll off for development that Saturday and got my photos back on Monday. It worked! I was able to get 38 pictures because the Nikon FE allows you to shoot on exposure numbers "00" and "0", which are usually reserved for allowing additional room to ensure that your film is loaded properly and to ensure that exposure number 1 is not exposed to sunlight when you load your roll into the camera. Very exciting! Here's some of my favorites from the test roll.

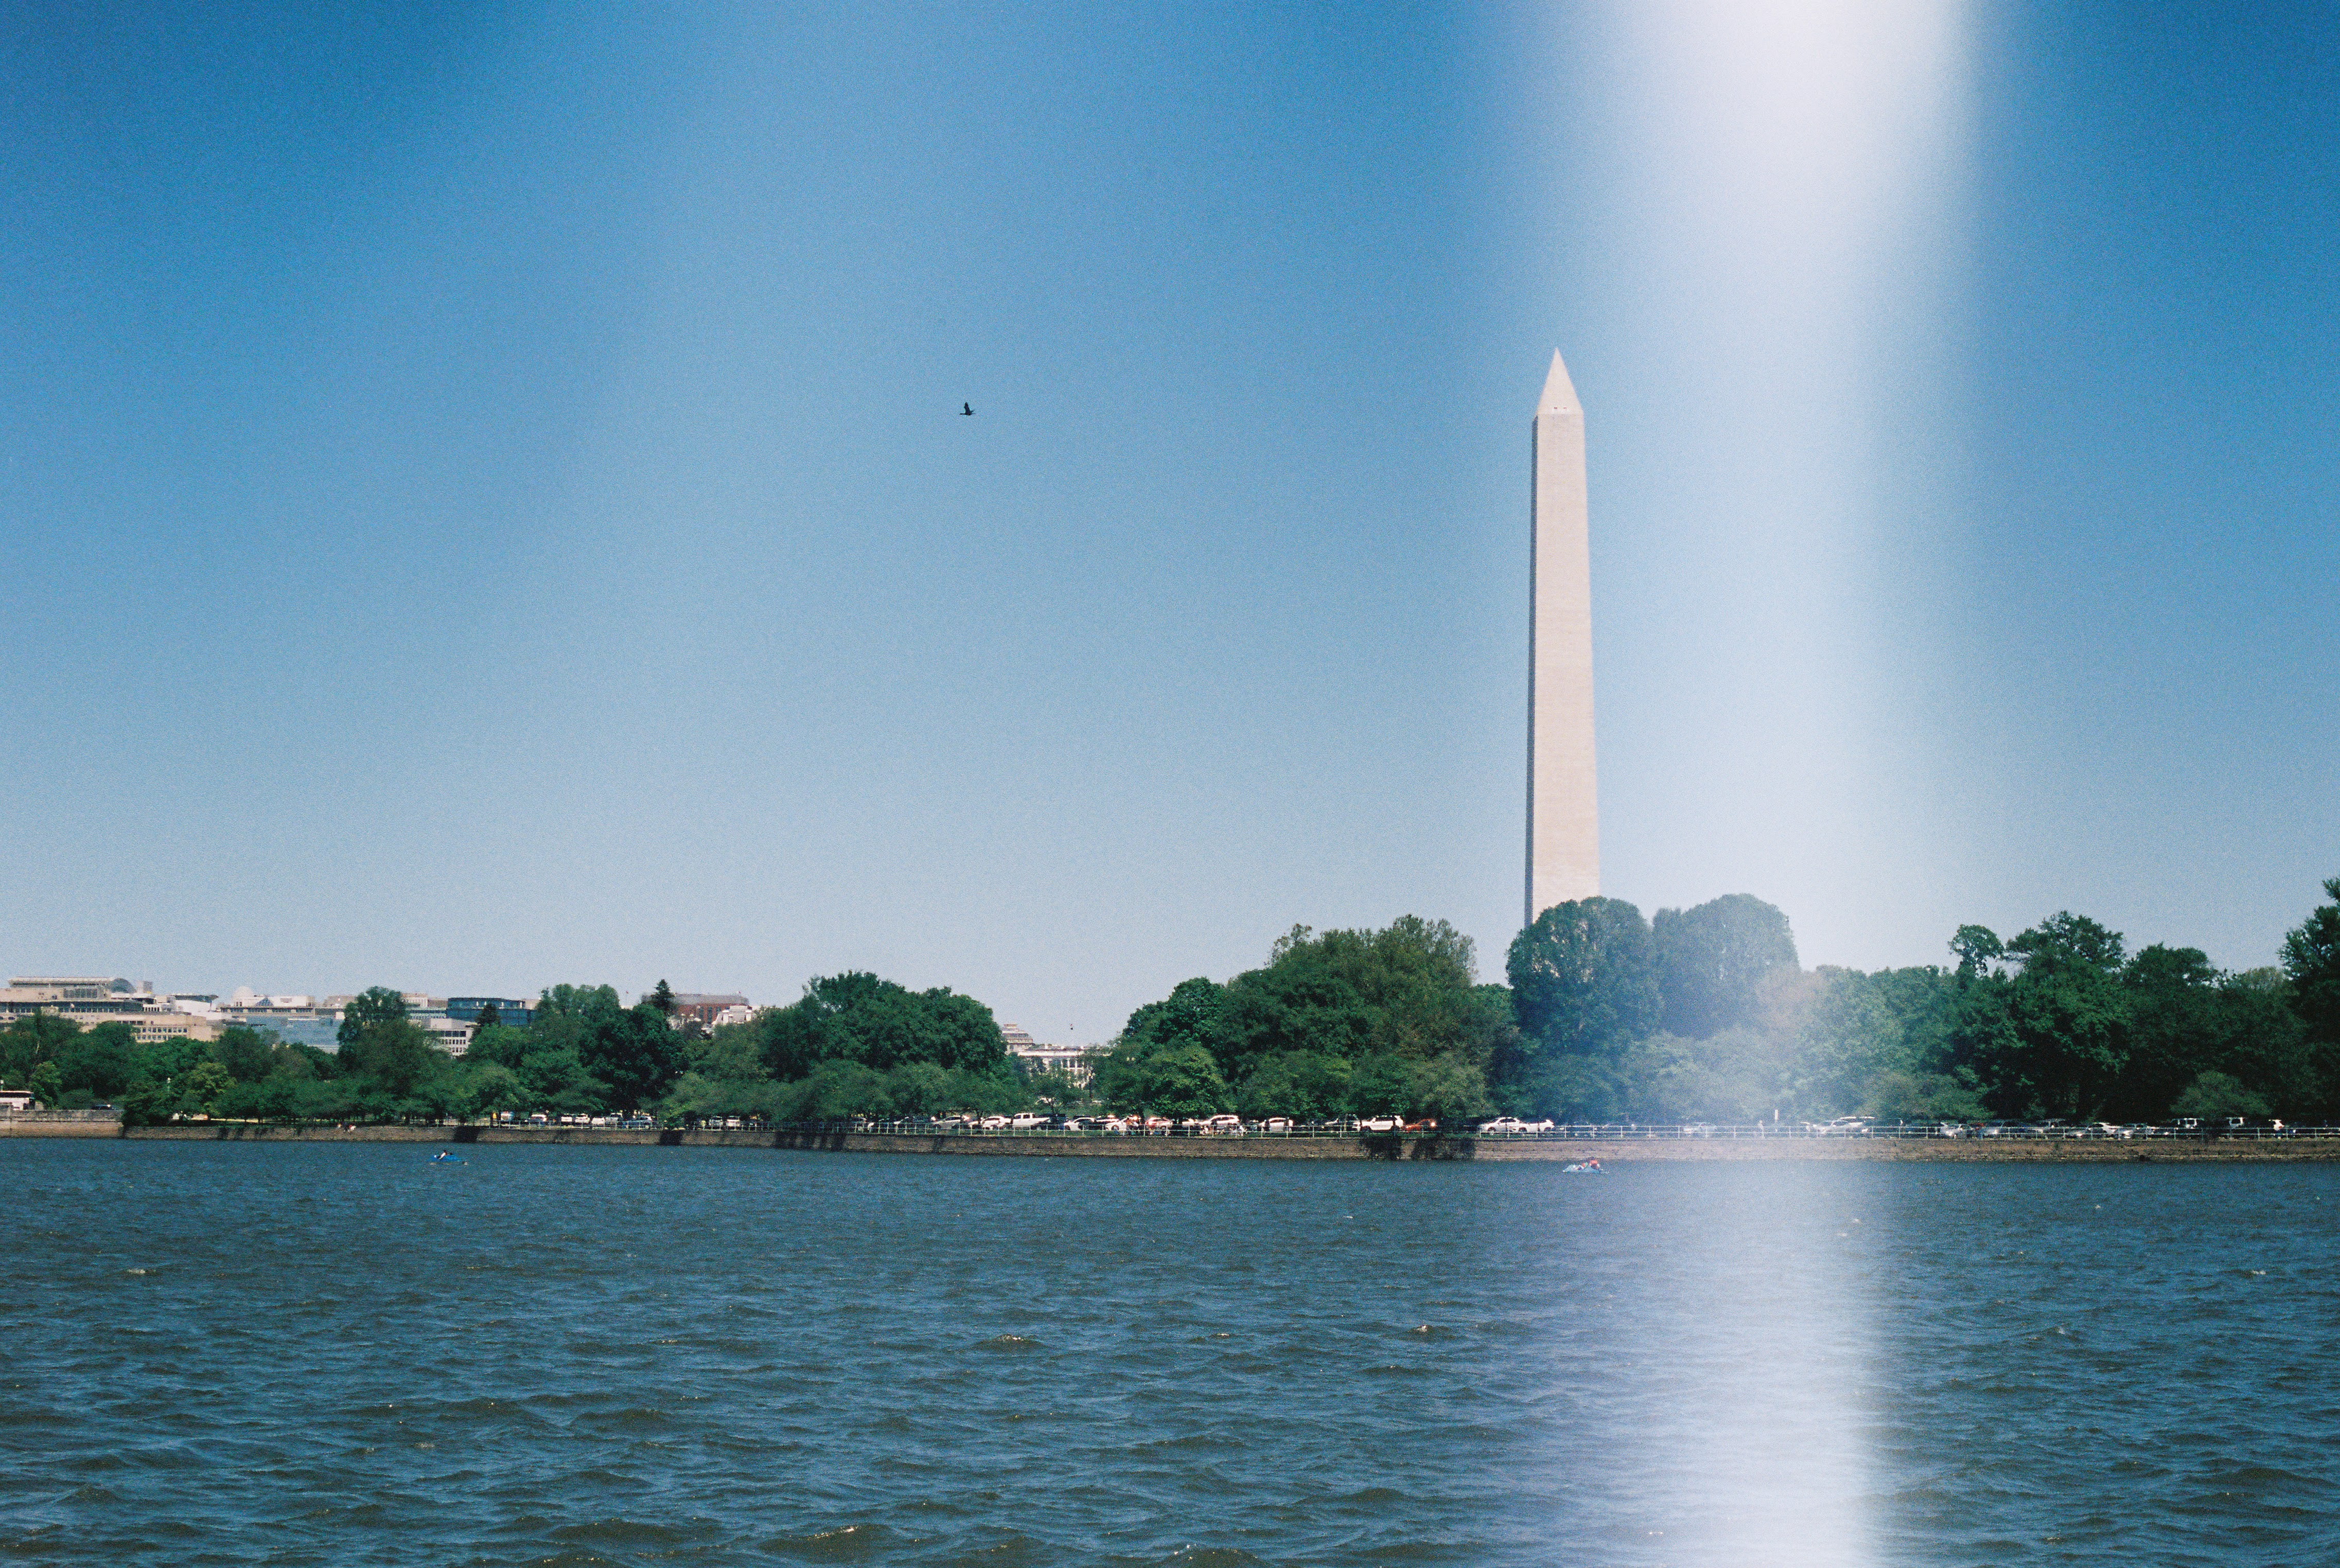
If it worked, then why is this blog about my first challenge? Well, I wouldn't learn until Friday, May 2nd. I dropped off two rolls of film that day from the trip that my beautiful wife and I took to Washington, DC the weekend prior. The first roll was Ilford HP5 black & white film I shot over Friday, April 25th, and Saturday, April 26th. Black & white film has to be hand-developed, so it both costs more and takes longer to get back (both drawbacks are so incredibly worth it, I love this film stock so much). The second roll was Portra 400, my first time shooting Kodak's professional color film stock that people swear by. I shot this roll on Sunday, April 27th, during our Monuments and Memorials bike tour before we returned home. Since color film is typically developed and scanned within a few hours, Will and I were playing DayZ that same Friday afternoon when I received my scans for the roll of Portra 400.

I excitedly opened the transfer link and looked at my photos. It was at that moment that I discovered my new camera has a "light leak", which is something that happens when the back of the camera isn't properly sealed and light leaks through, damaging the film inside by exposing it to outside light. What was even more confusing is that I only received 32 pictures back, which is not something that would happen because of a light leak. I was incredibly confused by both issues because my test roll returned all 38 exposures with no signs of light leakage. I began thinking back on the light conditions and film stock (Kodak Gold, an ISO200 stock) when I shot my test roll over those two days.

Over that weekend, I looked at the photos I got back, researched, thought long and hard, and eventually came up with two hypotheses, one for each issue, as I now believed them to be separate.

1. The light leak


This issue is easy to diagnose, so I was very confident in saying that there is a light leak. I was more interested in why I didn't see it on the first roll. Did I somehow damage the camera? I did bike with it multiple times, after all. I thought back on the lighting conditions of the test roll for each day I used the camera. The first time I used it, I took it on a bike ride along my typical route. I took about 10 photos, and most of them were in or around shade, as there are a ton of trees along this route. No direct and intense exposure to sunlight, certainly not the kind we had on that Sunday morning with nary a cloud in the sky. The second time I used it, Lizzie and I went on a hike at Sweetwater Creek State Park. I had never been, and it seemed like a cool spot, plus they have filmed a bunch of movies there, including a scene from The Hunger Games: Mockingjay Part 1 where Katniss and Gale talk at a cool destroyed building along a river. The hike where I took most of our pictures was under the cover of trees, and the camera was used under shade for pretty much every picture. Okay, makes sense. Lesson learned on how to properly test a camera!

2. The 32 exposures issue


This one is much more complicated. A few scans like the ones above that I received were extremely helpful in diagnosing this issue. This confirmed that if I didn't get 38 scans back, it must be because those exposures were completely black. I received a couple of scans like that one back because there was also a light leak on it. I eventually realized that it is likely due to an issue with the shutter. The Nikon FE has a somewhat automatic mode where it chooses the shutter speed based on the amount of light + the ISO of the film stock. I used Kodak Gold 200 for my test roll and Portra 400 for the roll that was messed up, which is another clue. 200ISO film, such as Gold, requires a longer shutter speed to get a properly exposed photo. That, combined with the fact that I wasn't in super bright conditions, meant I never got up to the super fast shutter speeds like 1/1000th of a second. On a bright sunny day in DC, shooting 400ISO film? You bet that meter was probably recommending a 1/1000 shutter speed fairly often. Boom! Epiphany. For whatever reason, that shutter speed is BUSTED.

After coming up with these hypotheses, which were like laws of physics as far as I'm concerned, I reached out to the eBay seller on Sunday to try and seek a refund since I wasn't sure how costly it would be to repair this camera (I still don't know). To my surprise, they responded incredibly quickly and offered a choice between a partial and full refund (not sure who would choose partial here), plus I get to keep the lens, which works perfectly, and the camera. I purchased a certified eBay refurbished Nikon FE body the next day, and it has arrived at my door at the time of this typing (Thursday, May 8th at 12:24 PM Eastern). Wow!! What a quick, easy, and happy resolution! Yet another #TestRollWeekend is on the horizon.

The Wildcard - My Roll of Ilford HP5

After all the dust had settled, I was still eagerly awaiting my scans from the roll of HP5. This film stock is also ISO400, but was taken on rainy days, so I was extremely hopeful that those photos would turn out well. Well, folks, on this past Monday, right as I was arriving for a dinner with the ATL boys, I got the transfer link. I snuck a peek at all the photos before dinner (37 exposures in total!) and was overjoyed with the results. There is some light leakage, but it's nowhere near as consistently present and in most cases it's pretty tasteful. Cheers to more knowledge gained on film photography. Enjoy these photographs!


Friday, March 28, 2025

Kedrick: 4 - Photography Intro and the Exposure Triangle

My Journey So Far 

    Happy Friday, Companions! Today I'm writing my first post about my most recent hobby, photography. Last March, almost a year ago to the day, I purchased a Panasonic LUMIX GX7 digital camera. The catalyst was simple: Lizzie and I were going to the Masters in April and I wanted to take pictures, but they don't allow phones! My research into cameras and photography started when I learned about that prohibition and hasn't stopped since. I learned all about the types of digital cameras: DSLR, Mirrorless, Micro Four Thirds, the list goes on. Then I decided what was right for my needs - something compact, beginner-friendly, and not too expensive. The LUMIX and its companion "kit" lens (the lens that was originally packaged with the camera body when sold via retail) emerged victorious. I used this camera, with a new lens purchase for my birthday in July, throughout 2024. 

Me and my LUMIX GX7

At the turn of the new year, I embarked on a journey I had considered for a while: shooting photos on 35mm film. What followed was an absolute slew of new things to learn about before deciding what camera to buy. I stumbled upon an interesting format: the half-frame camera. More specifically I purchased the Olympus PEN EE-3. These cameras can fit two "exposures" (pictures) on each typical 35mm exposure. It accomplishes this task by essentially halving the frame - hence the name. Where a full-frame exposure measures 36mm by 24mm, a half-frame exposure measures 18mm by 24mm. This is illustrated below.


Most film rolls have 36 exposures, so with my camera, I can shoot 72 photos per roll. I find this amazing as a first-timer since I'm all about testing and shooting everything I want. Plus, the drop in quality isn't too bad. The photos aren't going to be as sharp as shooting when using the full frame, but so far my photos have been sharp enough for me. It's also a teeny tiny camera that I can easily fit in my pocket or my Lululemon crossbody that I stole from my beautiful wife. The biggest benefit as far as my nature as a beginner is that it's a fully "point and shoot" camera. Pretty nifty, especially for a camera made in the 70s, that I can just set the dial to the ISO of the film stock I'm using and click away. The camera even tells me if there's not enough light by simply not taking the picture. Plus if I want to override that I can! Candidly, I am already researching a more robust and manual full-frame 35mm camera but that's only because I'm getting more comfortable with shooting 35mm (and have an insatiable appetite for new gear).
Me and my Olympus PEN EE-3

The Exposure Triangle    

    Now that I've touched on my background and what cameras I use, I can explain what I'm talking about today: the exposure triangle. This is a concept that I learned out of the gate after ordering my digital camera. It's also probably the single most important topic of photography and something I've finally started to get a feel for. The triangle involves three camera settings: Aperture, Shutter Speed, and ISO. These three settings work together to create a photo with perfect exposure (which is synonymous with the brightness or darkness of an image). These settings also individually and collectively impact the stylistic choices around a photograph. To understand how this all works, you must first understand what each setting means.

The Exposure Triangle

Shutter Speed

The easiest setting to grasp in my opinion is shutter speed, which is sometimes called "exposure time". Simply put, it's how long your film or digital sensor is exposed to light when you take a photograph. The most common shutter speed is 1/60th of a second (you'll see this written as 1/60). Aside from contributing to the exposure by determining how long light is let in, the key stylistic aspect of shutter speed is motion blur. To access the full spectrum of shutter speeds, you need a tripod as low-light photography shutter speeds can approach seconds or even minutes! However, if you want to shoot a photo of an Olympic sprinter without motion blur, you would manually set your shutter speed to a quick setting, like 1/1000 or faster. Shutter speed is generally automatically set by a camera. However, it's always helpful to have a firm grasp on what this setting impacts in case you need to control the amount of motion blur in your photo.

Aperture

In my opinion, the aperture is the most relevant setting to the overall end product of the photograph. It is the size of the hole that the light passes through when taking a photo. Most photographers agree this is the most important setting. That's why the most common shooting mode when using a digital camera is "A" on your dial or Aperture-Priority Mode. This means that you manually set the aperture for your photo and the camera chooses the right shutter speed and ISO. Aperture is also known as an "F stop" and that's how this setting is displayed - if you're familiar with photography you will have seen things like f/1.8 or f/5.6 on your lenses. The actual measure is strange to grasp as f/1.8 is a larger aperture than f/5.6. That's because it's actually a fraction. Aperture impacts exposure because a wide-open aperture like f/1.8 will let more light in than a small aperture like f/22. This can be easily seen in the image below.
But how does this impact your image? Through the depth of field! The easiest way to explain this is by using an iPhone setting example. On your phone, "portrait mode" uses a wide-open aperture like f/1.8, which creates a ton of blur in the background of whatever is not in focus. This is illustrated in the picture of the cute orange cat in the chart above. For things like landscape photography, you want everything in focus and therefore will choose a small aperture like f/11. Portrait photographers will almost always use something like f/1.8. One last fun piece of information here is that the blurry part of the photo behind a portrait is called "bokeh" (pronounced bow-kay). Cool and important word.
One benefit of digital cameras is that you can see the settings used for each photo after you import it to your phone. This was taken using f/2.2, 1/8000, ISO 200

ISO

This setting was the hardest part of the triangle to grasp and something that didn't click for me until I got into film photography. ISO essentially means the film or digital sensor's sensitivity to light. When you use a digital camera on aperture-priority mode, which I do most of the time because it gives me a high amount of control over my image with a low amount of effort, ISO is set automatically. So truthfully I didn't really care on digital.
That experience vs choosing ISO in film photography is legitimately night and day. Why is that? Two words: film stocks. Each type of roll of film has an ISO setting, alternatively referred to as "film speed". So, when I shoot UltraMax 400, the 400 means that's the ISO for that roll. This means that ISO is fixed when you shoot each roll of 35mm film and to get perfect exposure, you only have two pieces of the triangle to focus on. You do, however, have a great deal of control when choosing what type of film you shoot. The difference in film speeds on exposure is illustrated below.
Another important note about ISO from a 35mm film perspective is that it impacts how much film grain there is in a photo. ISO 100 is not all that great for low-light scenarios but produces a very fine film grain (closer to how a digital photo looks). Whereas the highest ISO film of 3200 is pretty darn good at shooting in low light but will produce a ton of film grain, which some people like! It all depends on what your conditions will be and that's why choosing film stocks is so important and why ISO is so different in analog photography. 
TRI-X 400 has an iconic film grain and now I know why. This is maybe my favorite picture to date.

As always, if you've read this far I hope you learned something new! This post was written at a high level, so if you have any questions please let me know.